Bootstrapping this blog with jekyll
This is part two of a three part guide where I document the process of getting this blog setup. Here are some links to the other parts:
I’ve been writing this series of posts on setting up my blog while I’ve been setting up this blog. To get things started I just created a folder and put a markdown file in it, and started writing the first post.
The first step to setting up my blog was to get the required tools for running jekyll. I covered that in the first part of the series.
Now that I have the tools, I need to create the jekyll site, then move the content I’ve already written into it. Then I can finish the series from within the site itself.
Here’s what I’ll cover in this post:
- Creating a jekyll site - Jump
- Creating a local git repository - Jump
- Moving existing content into the jekyll site - Jump
Create a jekyll site
I originally thought that jekyll was a converter that just converted markdown to other formats. But I was wrong, I probably had jekyll confused with the very useful pandoc tool.
Besides markdown, Jekyll can handle many other formats. Jekyll is more than a simple converter, jekyll sites have structure. Creating a jekyll site reminds me of using npm init to create a new javascript project. A better analogy would be something like express myapp to scaffold a new expressjs website. That’s what jekyll new does, it creates a scaffolded site for me that I can start customizing with my own content.
Initialize Jekyll Site
-
Use
jekyll newto scaffold a new website. - Quick Startjekyll new ${project_name}In my case the command is:
jekyll new jamesrcounts.com -
Next
cdinto the site folder.cd jamesrcounts.com -
Use Jekyll’s preview server to start the site.
Note: Jekyll does produce “static” sites which don’t require a back-end to render. The preview server is simply a convenience for local development.
bundle exec jekyll serve -
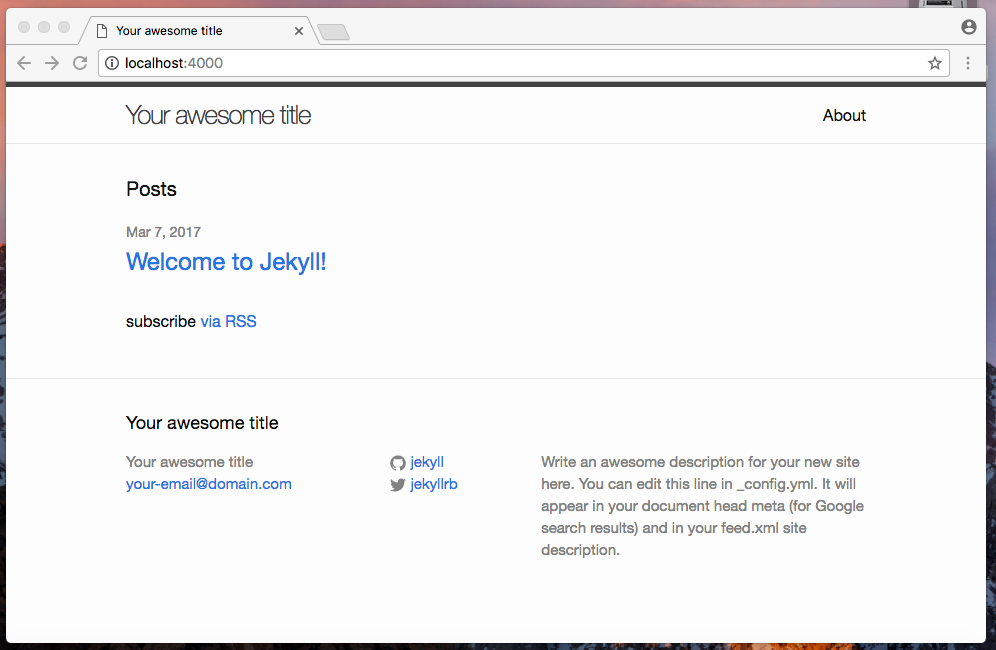
You are ready to move on if you can see the site running locally in your browser.
Navigate to http://localhost:4000

Create Local Git Repository
Now that I have initialized the site, I’ll turn it into a git repository. One of the things I like about jekyll is that everything in jekyll is just code and blob files. There is no database or backend. I can use git as my backup and versioning system.
I assume that many of you will already be familiar with git, and you can feel free to skim or skip this section. Just make sure that you initialize a new repository and make your first commit with the files jekyll generated.
For those of you who prefer step-by-step guides, follow on:
-
Navigate to your site folder and run:
git init . -
Normally the next thing I like to do is create a
.gitignorefile. But jekyll already created one for us, nice.# .gitignore _site .sass-cache .jekyll-metadata -
Add the initial files.
git add . -
Now commit them.
git commit -m "Initial jekyll site"
I won’t push this commit to a remote just yet. First, I want to get the content I’ve already written into the site.
Migrate Content
This part is optional. If you are only interested learning how to setup an S3 website and a continuous delivery pipeline to update the website, then you can skip this part and just use the files generated by jekyll.
This site is going to be my new blog, so I want to preserve what I’ve written so far by moving it into the jekyll site. I’ll document the process, in case there are any snags along the way.
Once I get these posts into the site, I’ll be able to finish writing from within the site itself.
Note: This series of posts started as one very long post which I later broke into pieces. So if there seems to be some inconsistency between this migration process and what you see on the site today, that is the reason. This is another reason that I like the idea of jekyll. I feel like it gives me enough control to easily go back and improve/refactor my writing. Just like code!
-
Create a folder for drafts - Working with drafts
To start, I’ll make this post into a draft. Jekyll supports this concept, but I’ll need to create the folder manually.
Run this command in the site folder.
mkdir _drafts -
Next, I’ll copy this file from the temporary folder where I have been writing to the
_draftsfolder.cp ../../jamesrcounts.com/getting_started_serverless.md ./_drafts/ -
Now I can edit and view the file in the new location.
Run this command in your terminal to launch the jekyll site with drafts enabled:
bundle exec jekyll serve --draftsThe draft blog post shows up as if I had published it today.

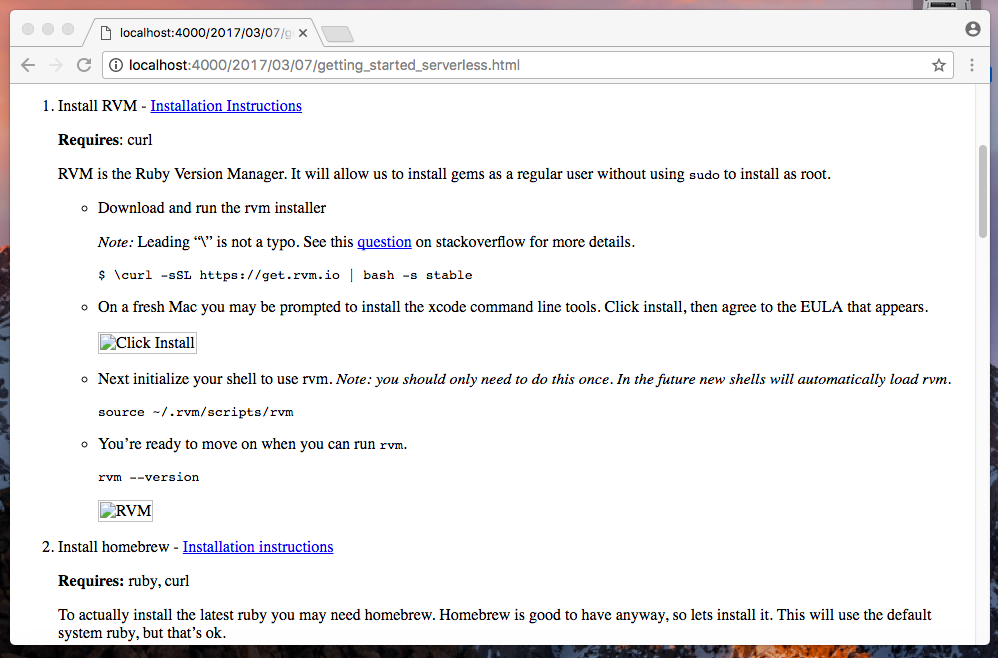
I can click into the post, but when I do I see that the theme is not applied, and the image links are missing.

-
Add front matter to the post - Front Matter
Front matter is a chunk of YAML that you add to the top of your markdown file. When you add front matter, you convert plain-old-markdown files into jekyll files.
I’ll add this chunk of front matter to the top of this file.
 ---
 layout: post
 title: Create a serverless blog with AWS and jekyll
 ---
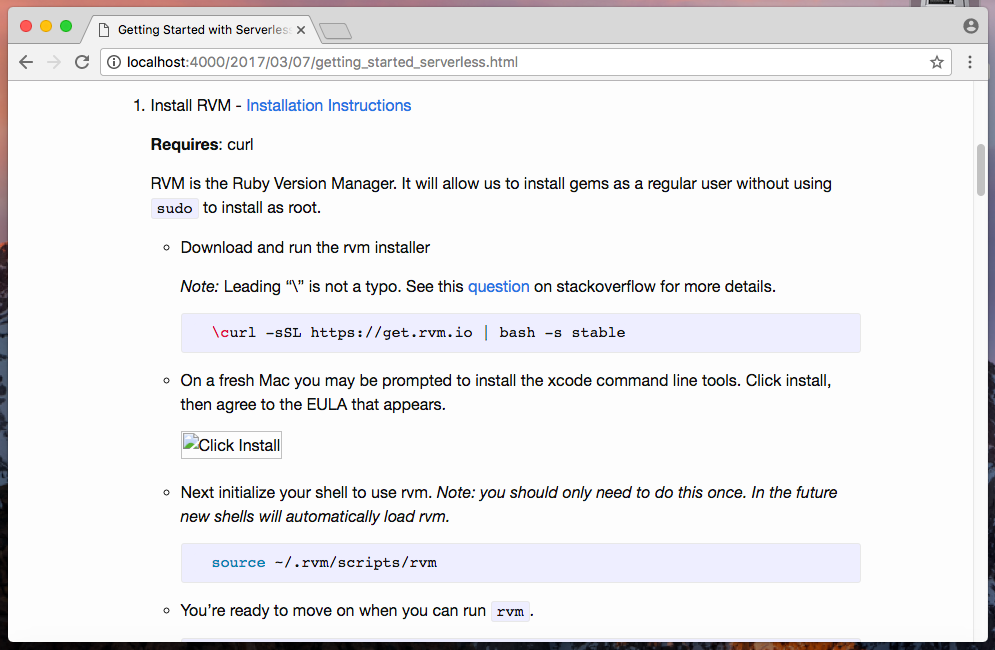
Now we can see a big improvement to the post styling, but media links are still broken.

-
Create a folder for media - Writing Posts
Jekyll’s documentation points out that a common solution to including images and other binary objects is to create a top-level folder like
assetsordownloads. Jekyll is not very opinionated here. It processes content in the root directory in one of two ways. If it finds front matter in the file, it will pre-process the input. If it finds no front matter, it copies the content as is to the_sitedirectory. This means blobs like images are always copied.I looked at a few example sites that the jekyll documentation links to, and found that I like the top level folder idea, but I’ll include sub-folders to avoid a giant sea of blobs. This is for my own convenience, neither jekyll or the web care how I organize these blobs.
I’ll use
mkdir -pto create my destination folder and it’s parents in one go.mkdir -p media/2017/03/07The year/month/day directory structure will make a little more sense once I publish this post out of draft mode. I doubt I’ll post often enough that having a folder for the day will get confusing, and if that happens, I can change things for new posts without breaking anything. Anyway, this is good enough for now.
Next, I’ll copy the media files from the old location.
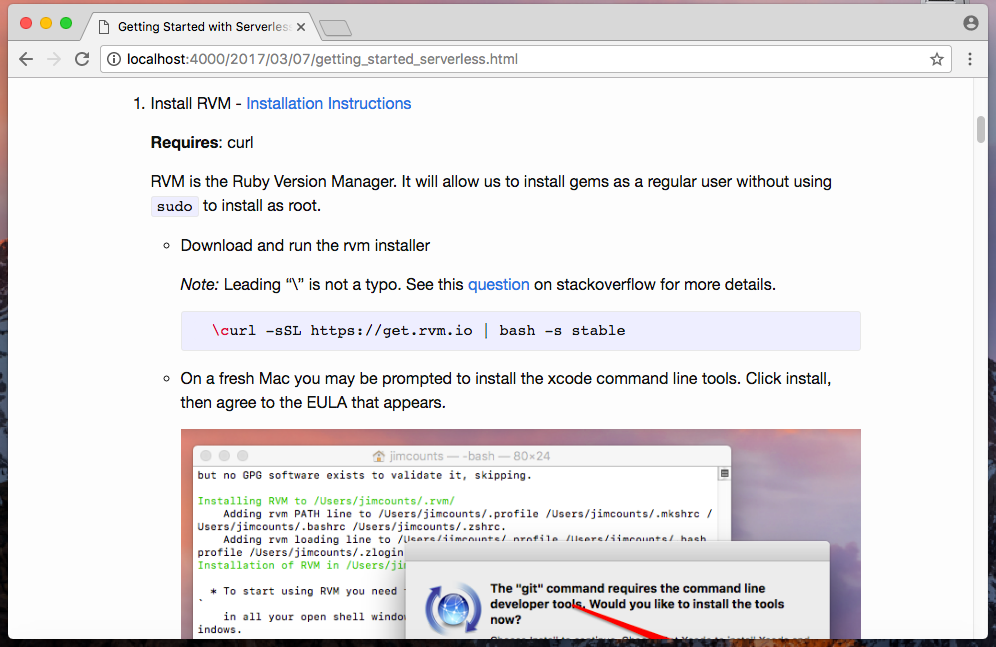
cp ../../jamesrcounts.com/media/* media/2017/03/07/I do a search and replace to update my image source paths to include the subfolders. Now, the image links are working.

-
Now would be a good time to make sure we are all checked in.
git add . git commit -m "Added first draft" -
Finally, I will publish this post by moving it out of the draft folder into the posts folder. In the post folder, Jekyll requires that the filename is prefixed if YEAR-MONTH-DAY.
mv _drafts/getting_started_serverless.md _posts/2017-03-07-create-a-serverless-blog-with-aws-and-jekyll.mdAs I moved the file, I thought of a better name, so I made that change as well.
-
Now I can restart the server without the
--draftsflag, and I should still be able to see this post.
Next Steps
This was my first experience with Jekyll but I like it so far. Although Jekyll has more structure than I expected, I’m glad for it. At the same time, there is a nice simplicity to the tool, which gives me a lot of options for hosting.
I’ve picked AWS S3 as my host. I plan on writing about AWS and the other cloud providers on this blog, so it only seems fitting that I use this blog to show that a serverless app can be very easy to get going.
Plus, hosting a website in S3 seems quite simple. I think we may find that there are complexities once we dive into the next post