Getting Tools Together
This is part one of a three part guide where I document the process of getting this blog setup. Here are some links to the other parts:
I’ll start by walking through the tools I’ll need and how to set them up.
Note: Although I’m a polyglot programmer and use both Windows and Mac in my professional work, I’ll be using a Mac for writing this particular blog post. All
commandswill bebashcommands. If you are working on a modern version of Windows you should be able to activate bash on your machine, but you still may need ruby or other tools. I’m not going to cover getting ruby and bash working for windows in this post, but I will try to point out what tools are required for each command so that you can get them setup.
Tools You Need
The following instructions work as the time of the writing. I’ll try to provide links to relevant resources in case things change and you need the most up to date instructions.
RVM
Requires: curl
RVM is the Ruby Version Manager. It will allow us to install gems as a regular user without using sudo to install as root.
-
Download and run the rvm installer - Installation Instructions
Note: Leading “\” is not a typo. See this question on stackoverflow for more details.
\curl -sSL https://get.rvm.io | bash -s stable -
On a fresh Mac, you may be prompted to install the Xcode command line tools. Click install, then agree to the EULA that appears.

-
Next, initialize your shell to use rvm. Note: you should only need to do this once. In the future new shells will automatically load rvm.
source ~/.rvm/scripts/rvm -
You’re ready to move on when you can run
rvm.rvm --version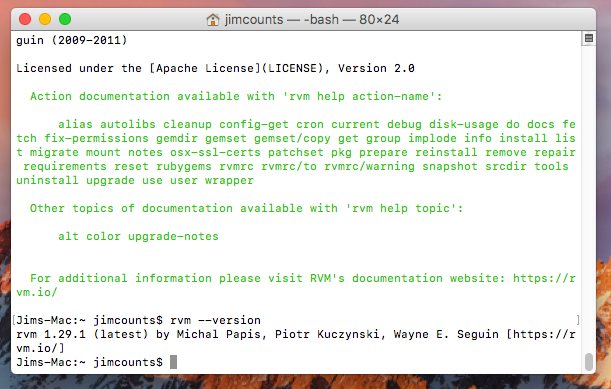
homebrew
Requires: ruby, curl
To actually install the latest ruby you may need homebrew. Homebrew is good to have anyway, so I’ll install it. This installation will use the default system ruby, but that’s ok.
-
Download and run the brew installer. - Installation instructions
/usr/bin/ruby -e "$(curl -fsSL https://raw.githubusercontent.com/Homebrew/install/master/install)" -
You’re ready to move on when you can run
brew.brew --version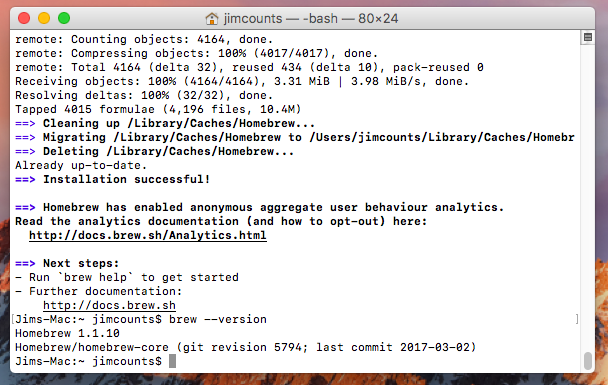
ruby (via RVM)
RVM lets you control which version of ruby you use per project or per terminal session depending on how you would like to use it. It does this by installing a new version of ruby in your user account and leaving the “system” ruby alone. This is great because the system uses ruby for some of its own purposes (like installing brew) so we don’t want to mess it up. Soon, when we install jekyll we will be setting up the “local” ruby, without interfering with the system installation.
-
Install latest (this can take awhile).
rvm install ruby --latest -
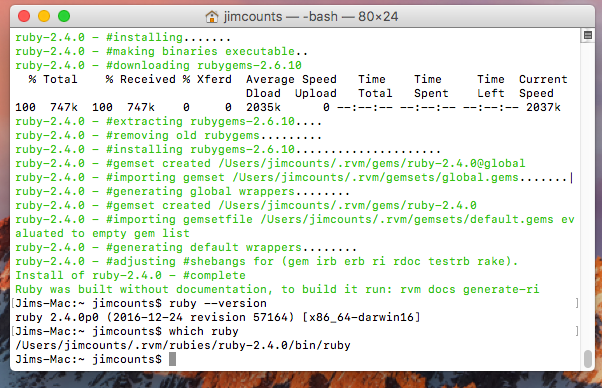
Confirm that you are running the latest ruby.
ruby --version -
Next, confirm that you are running a “local” ruby.
which ruby -
When you see that ruby is found in your user profile, then you are ready to move on.
jekyll
-
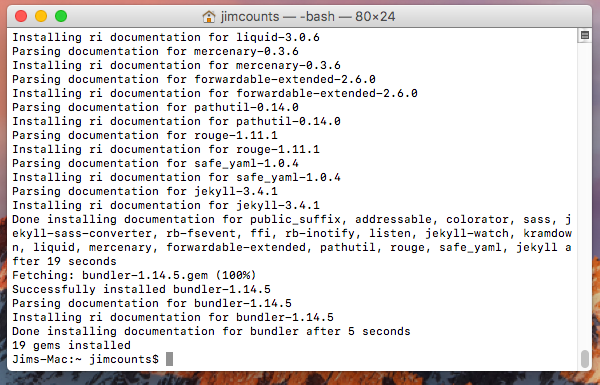
Now we are ready to install jekyll - Quick-start guide
gem install jekyll bundler -
Move on once you see the gems finish installing.
Next Steps
We’ve gotten off to a good start in this post. I got some tooling squared away and I’m ready to bootstrap a new site.
Although I’ve worked in quite a few languages, I actually have relatively little experience with ruby. So tools like RVM and bundler were new to me. I’m looking forward to trying out Jekyll in the next post.
Read on if you have time! Thanks!